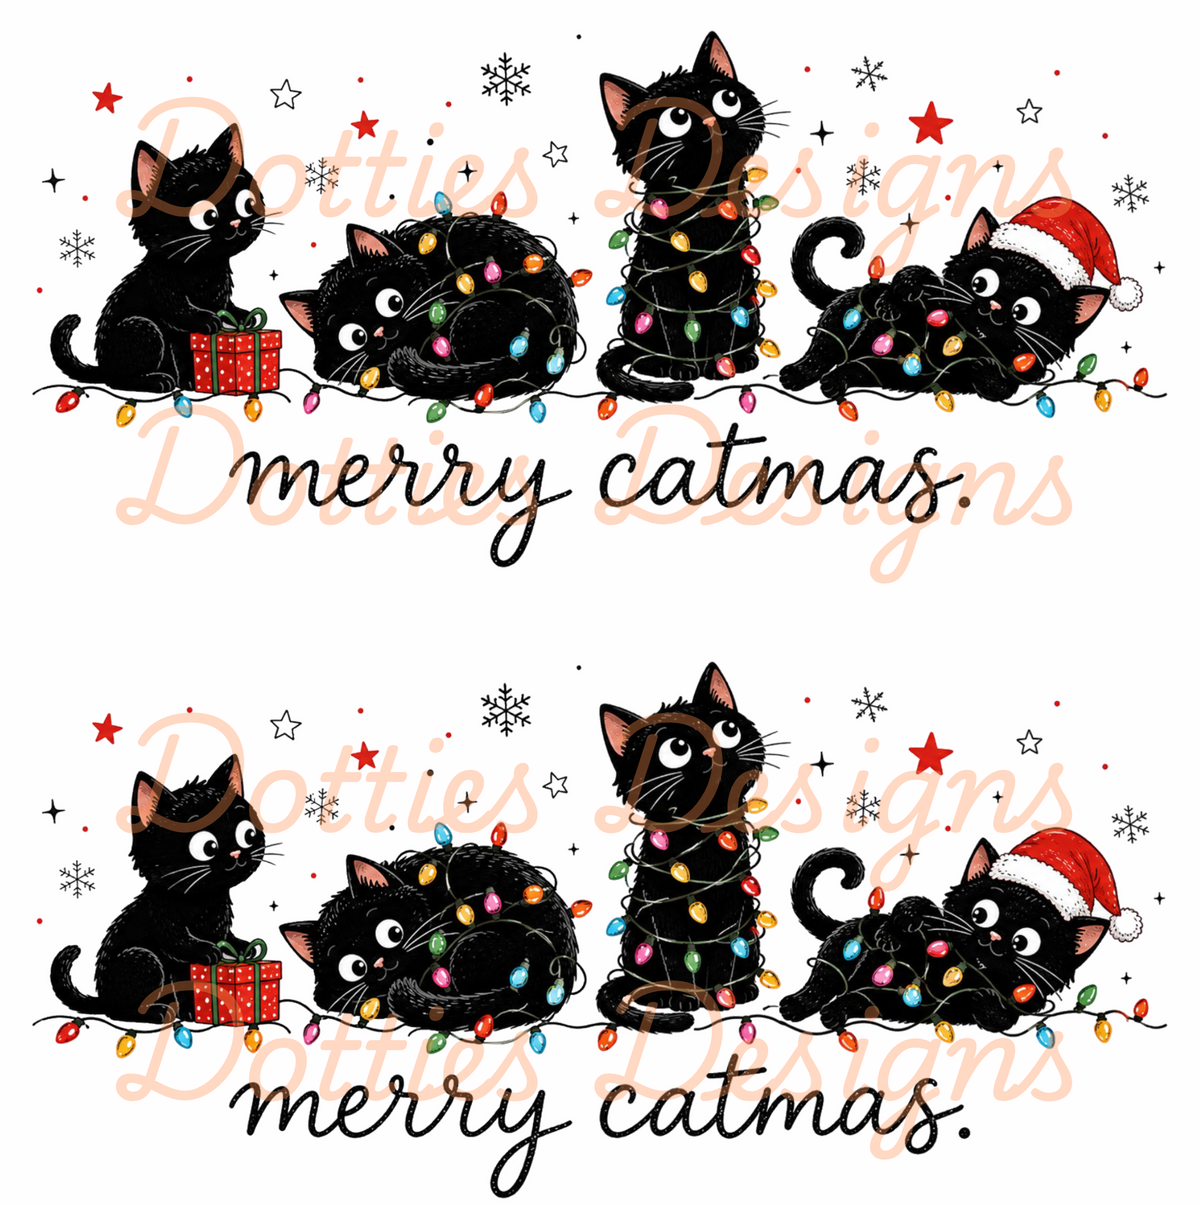
Merry Catmus - DTF (Only)
Merry Catmus - DTF (Only)
Couldn't load pickup availability
Dotties DTF Designs – DIY DTF Transfers
Create your own personalised clothing with Dotties DTF Designs! Our high-quality DTF (Direct to Film) transfers are supplied ready for you to apply to your own garments and suitable materials.
Whether you're using a heat press or a normal household iron, our transfers make it easy to create your own custom designs at home.
Please Note
These are DTF transfers only – no T-shirts or garments are included. This is a DIY product, so you will need your own suitable garment or material and either a heat press or a household iron.
- Average transfer size is approximately 9" x 9", depending on the design.
- Some sheets may contain more than one design, giving you even more value.
- Transfers can be applied to suitable cotton, polycotton, polyester, nylon and spandex materials.
- For the best and most consistent results, a heat press is recommended.
🔥 Heat Press Instructions
Cotton & Polycotton
157°C for 13–15 seconds
Polyester, Nylon & Spandex
130°C for 8–10 seconds
Pressure: 55–70 PSI – firm pressure.
Hot Peel
Once pressing is complete, allow the transfer to cool for approximately 3–5 seconds. Peel the film back from one corner in one quick, smooth motion.
Post-Press
After peeling, place a Teflon sheet or parchment paper over the design and press again for 5–8 seconds.
The post-press helps seal the edges and is important for achieving a long-lasting, durable finish.
👕 Applying with a Normal Household Iron
Don't have a heat press? You can also apply your DTF transfer using a normal household iron, as long as the steam is switched OFF.
Step 1 – Prepare Your Garment
Place your garment on a hard, flat, heat-resistant surface. Avoid using a soft ironing board, as you need firm pressure when applying the transfer.
Step 2 – Pre-Press
Quickly iron the area where you will place the design to remove any wrinkles and moisture.
Step 3 – Position Your Transfer
Place the transfer onto your garment with the design facing down and the clear film facing upwards.
Step 4 – Turn Steam OFF
Make sure your household iron is set to dry/no steam.
Step 5 – Apply Heat & Pressure
Set your iron to an appropriate heat setting for your fabric. Place the iron firmly over the transfer and press rather than glide.
Work over the design in sections, ensuring that every part of the transfer, including all edges and corners, receives firm, even heat and pressure.
For larger designs, move around the transfer in sections until the entire design has been thoroughly pressed.
Step 6 – Peel
Allow the transfer to cool for approximately 3–5 seconds, then carefully peel the film back from one corner in one quick, smooth motion.
Step 7 – Post-Press
Cover the finished design with parchment paper or a Teflon sheet and press again with your iron to help seal the edges and improve durability.
Important Iron Tips
- Do not use steam.
- Use a hard, flat surface rather than a soft ironing board.
- Apply firm, even pressure across the whole design.
- Make sure you press the edges and corners thoroughly.
- Take care with delicate or heat-sensitive fabrics.
- If unsure, test the heat on a small, inconspicuous area of the garment first.
A heat press will provide the most consistent results and durability, but a household iron can be used as a DIY alternative when the correct technique is followed.
Please Remember
Always check that your garment or material is suitable for heat-transfer application before pressing. Follow the recommended temperature and application instructions for the best possible results.
Dotties DTF Designs – you press it, you wear it, you make it your own!
Share